Hi Crafters! I am popping in today with projects I have created with the new Easter Release at Taylored Expressions. There is something in this release for everybody. All the new products are available now in the TE Store.

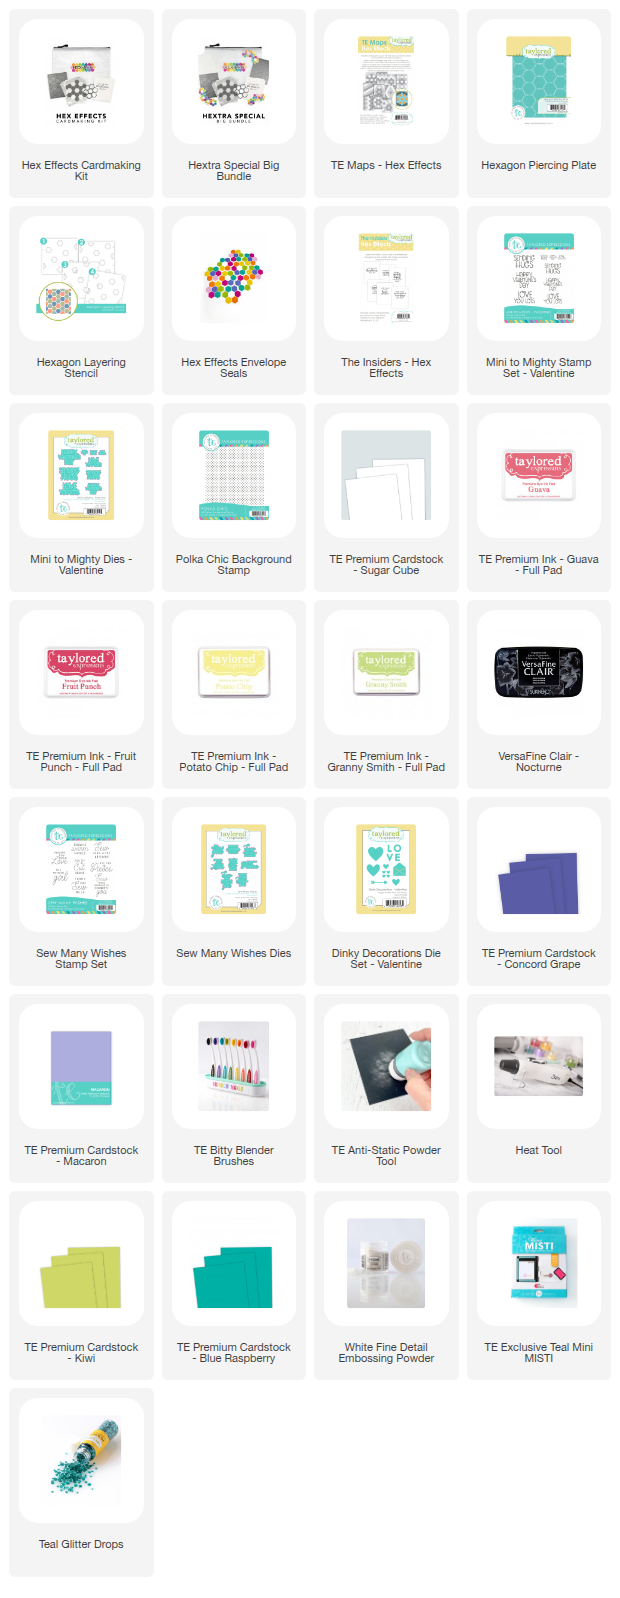
Let's start with a look at the new Tisket A Tasket line of products and the adorable Bitty Box Bunny Accessories and Giftable - Bitty Box.

I used the A Tisket A Tasket Die Set and A Tisket A Tasket Die Set - Easter to create this sweet Easter Basket. The A Tisket A Tasket Die Set creates the basket and can be used for many other occasions. The set includes the dies to put together the basket, flowers and leaves, and a bow.
The Tisket A Tasket Die Set - Easter is what I used to create the all the Easter items. I love how the bunny hangs over the basket.

I added the sentiment with the new Pennant Picks Die and Clear Stamp Combo. The clear stamp set has sentiments for many different occasions.
I added the sentiment with the new Pennant Picks Die and Clear Stamp Combo. The clear stamp set has sentiments for many different occasions.
The background is stamped with the Scattered Meadow Background Stamp with Confetti Cake Ink on Salt Water Taffy Cardstock. I used the Rounded Rectangle Stacklets Die Set and the Ridged Rounded Rectangle Stacklets Die Set to the cutout in the center of the card.


And how sweet is this treat box! The Giftables - Bitty Box Die creates a small box and then you use the Bitty Box Bunny Accessories Die and Clear Stamp Combo to added the ears, heart nose, and feet and stamp the sweet face. I used Cupcake Felt inside the ears.
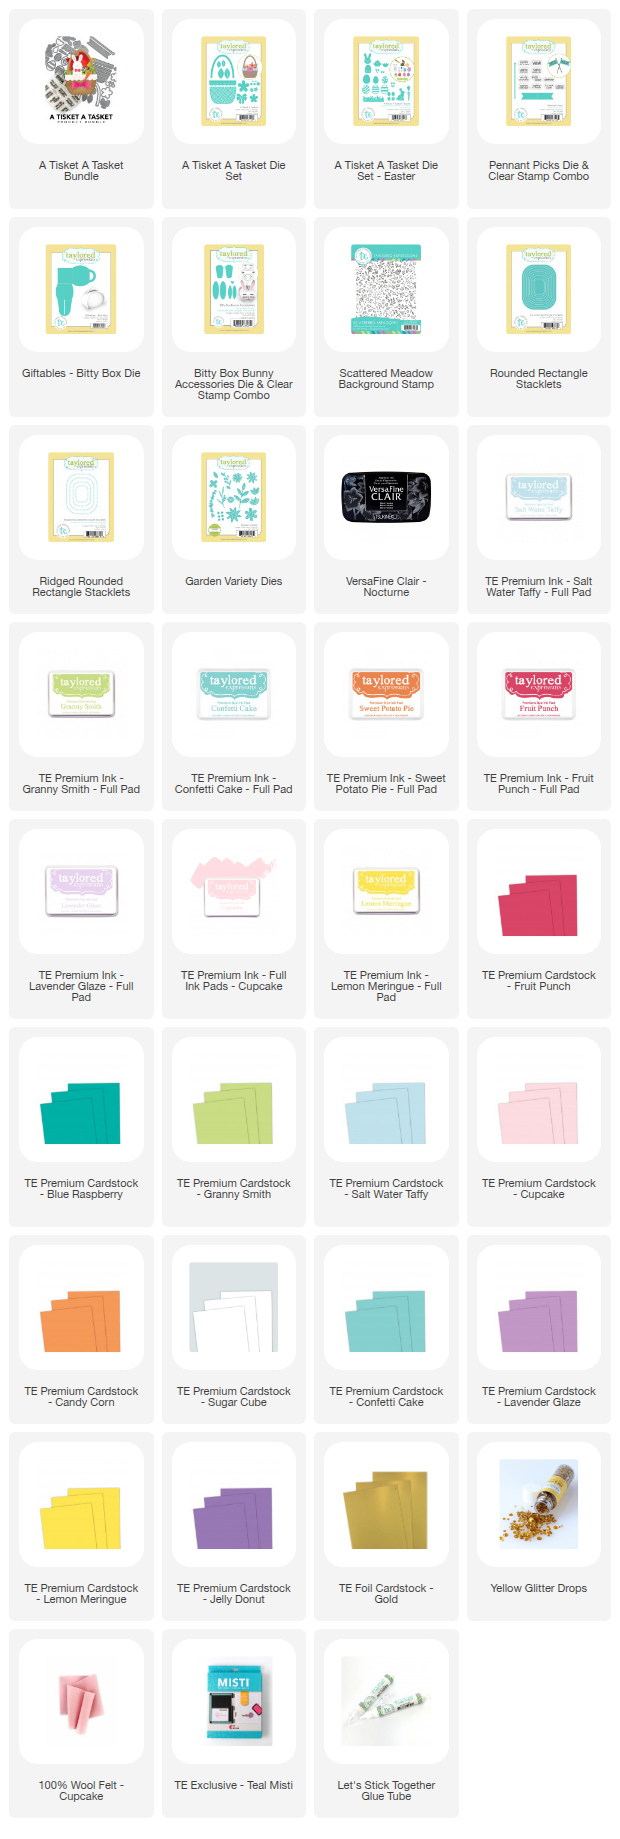
I used Postmarked - Springtime products to create this card. First I used the Postmarked - Springtime Layering Stencil with a Foil It Postmarked Springtime panel. I used Champagne Foil. I stenciled with Rose Water, Fruit Punch, Kiwi and Potato Chip Inks.
Next I embossed the card front with the Postmarked - Springtime Embossing Folder. The embossing added such a nice texture to the card.
The sentiment is stamped with the new Hip-Hop Happy Easter Stamp Set and die cut with the coordinating Dies.
I used the A Tisket A Tasket Die Set Easter to add the additional embellishments.
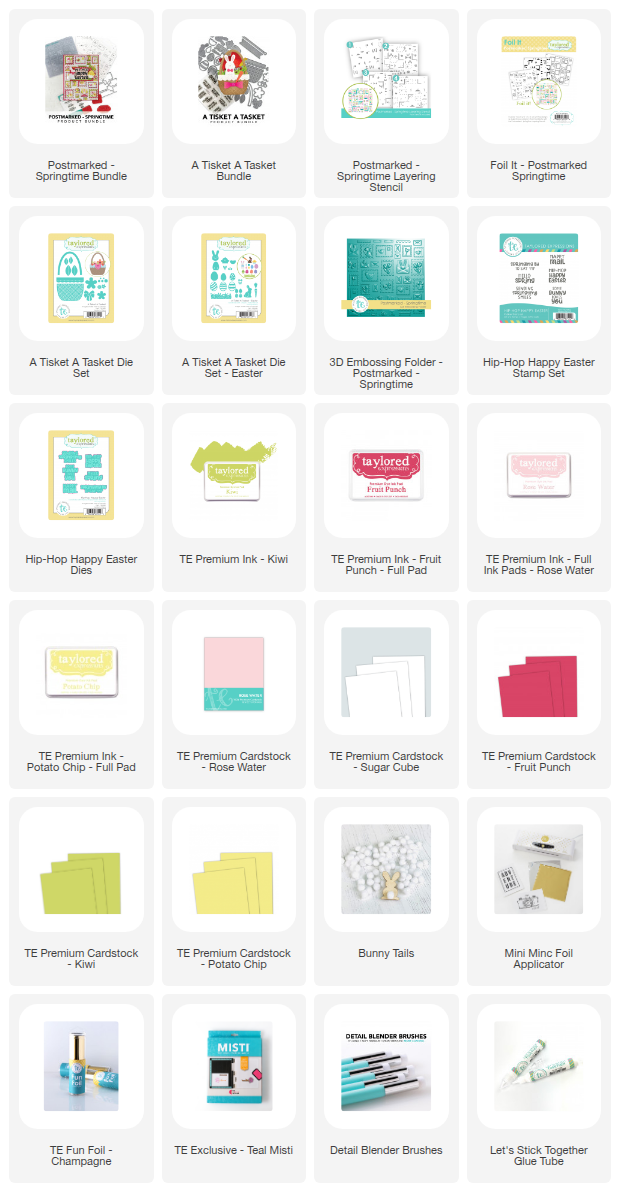
My final project showcases the Risen Indeed Die Set. You can see how the circle dies layer together to create the scene. Behind the cross I added a circle die cut with the Rays Pierce & Cut Plate Die.
The sentiment is from the new The Promise of Easter Stamp Set and die cut with the coordinating dies. I added the flower with the previously released Garden Variety Dies.
I stamped the background with the Scatter Meadow Background Stamp using Macaron Ink on Macaron Cardstock.
https://www.tayloredexpressions.com/whats-new/easter-2026/
We've created three Easter bundles that take the project planning off your plate! We’ve done the pairing so everything works beautifully together, making it simple to create cards and projects you’re excited to share.
We've created three Easter bundles that take the project planning off your plate! We’ve done the pairing so everything works beautifully together, making it simple to create cards and projects you’re excited to share.
Explore the Easter release, choose the products that fit your style, and create with confidence knowing the pieces are designed to work in harmony.
Get a little extra spring sweetness for your projects with one FREE Bits & Pieces – Spring Scatter with the purchase of any Easter Bundle!
Get a little extra spring sweetness for your projects with one FREE Bits & Pieces – Spring Scatter with the purchase of any Easter Bundle!
Limit one per order. Valid 9 AM CT Tuesday, March 3rd through 9 AM CT Tuesday, March 10th, 2026.